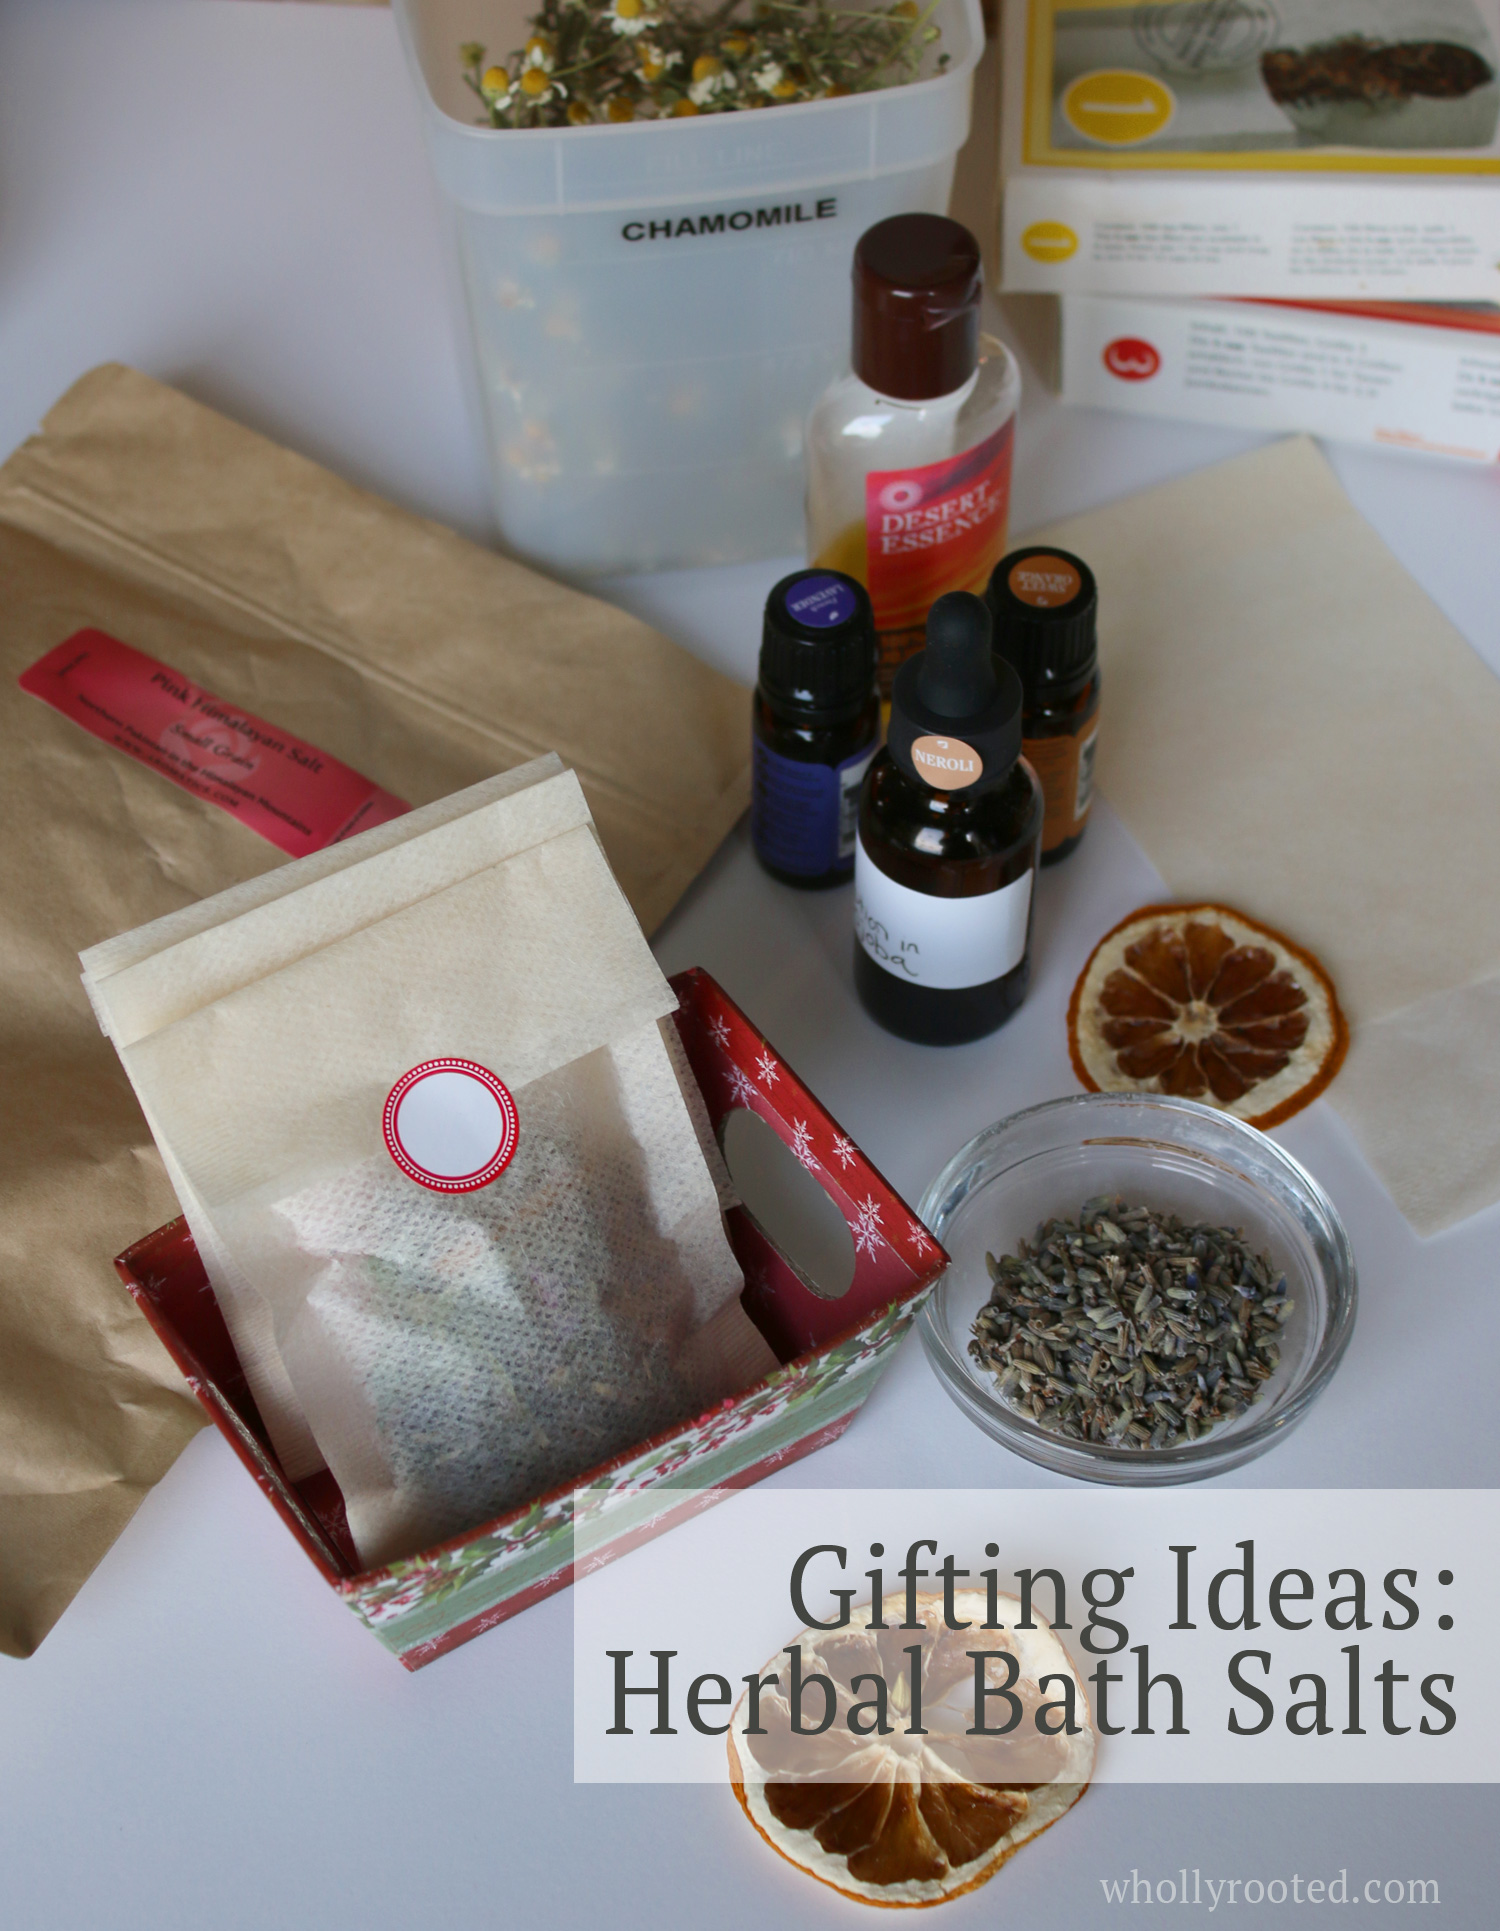
Herbal Bath Salts combine the ease of fragrant bath salts with the healing benefits of herbs. I like bath salts for many reasons. I have one son who has eczema flares in the winter - and salt/herb/eo baths have helped keep those to minimum for the past few years (along with a rich body butter). My other son has mast cell issues and severe food allergies and we have found that the mineral rich epsom salts help keep him from having as many skin reactions. As he is older he prefers to shower now, but still has a soak when he has been having a rough week health-wise.
Herbal Bath Salts are easy to make and very customizable. Many places sell dried herbs - or you can use what you grew/dried from your own garden (bonus!). Here is a base recipe using herbs known for their calming and healing properties - plus a few ideas of how you can customize your own. 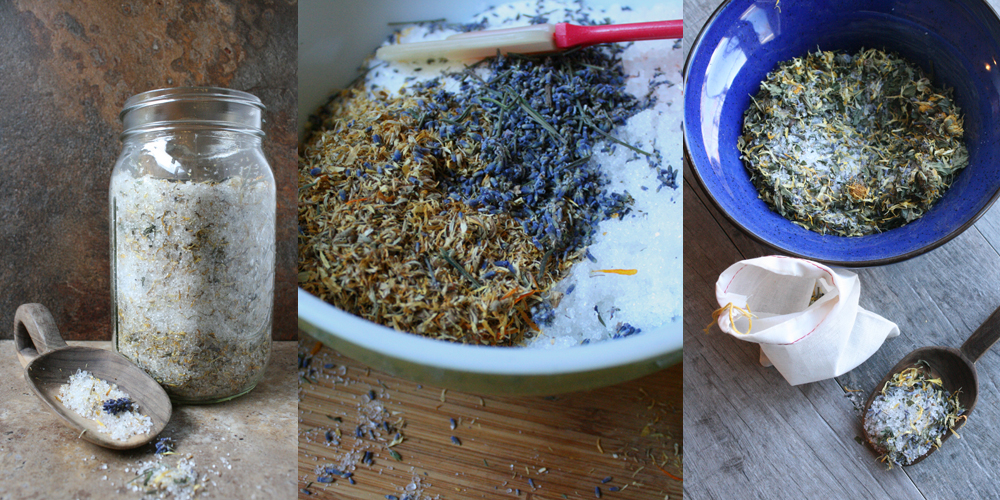
Sleepy Time Bath Blend
Approx. 4-6 baths
Mix the salts together in a large bowl with the dried herbs. In a small vial or cup mix your carrier oil with the essential oils. Drop a bit at a time into the salt/herb blend as you stir well. Store in an airtight container. To use, scoop ¼ to ½ cup per bath into a re-usable muslin pouch, and steep in the tub as you fill it. Soak and enjoy! Optional add-ins or substitutions: dried plantain, lemon balm, lemon verbena, coconut milk powder, dried orange peel, or rolled oats. If you collect your own garden herbs, just be sure to dry fully and remove from stems before weighing. Also, you can use just the salt & herbs and skip the essential oils. Other essential oil and herb combos that are nice (just blend into the carrier oil and add to the salt mix) as alternates::
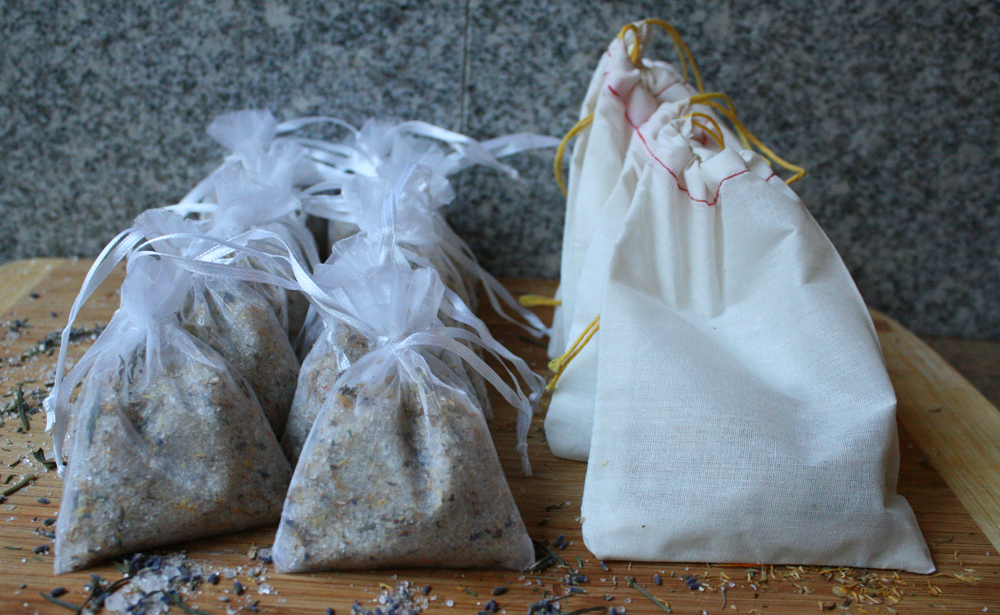
To make as a gift, put your blended batch into a nice glass jar and attach instructions and a muslin bag or scoop. Attach instructions - use 1/4 cup or more per bath - and gift away! You can also make individual tub bags - measure 1/4 cup portions into unbleached biodegradable large empty tea bags. I really like the x-large natural iced tea bags because they strain finely so no bits end up in your bath and they are compostable. You can simply sew or sticker them shut at the top and put into a pretty box with instructions. Craft stores also sell wedding favor bags which are a good size - and they can be cleaned and re-used. The key is to store the pre-filled bags in an airtight container so that they don’t start to dissolve from the moisture in the bathroom. The salts will sink to the bottom and settle if you use a single large jar, so be sure to stir or shake before scooping into the tub. Be sure to keep the lid on tight for a whole jar or store the pre-filled bags in an airtight container to keep from dissolving in the bathroom moisture. Herbal Bath Salts Instructions: Scoop 1/4 cup per bath. Tip: Don't use bath salt blends for tiny ones. For toddler baths you can use a small pouch of only dried calendula or lavender – using 2 Tbsp of dried organic herb is enough for a shallow bath – and skip the salt and essential oils. Those gentle herbs will help sooth any bottom or skin rash, while remaining safe for wee ones. The easiest way to do this is pour 1 cup of almost boiling water over your herb pouch in a heat safe bowl, and let steep until room temperature. Remove the pouch and pour this *cooled* infused water in with your toddlers bath water. This way you have the full infusion added to a bath at a safe temperature.
0 Comments
I cannot believe it is November. It has been so warm here in Wisconsin. Flowers are still blooming, I am still watering pots, and we have been outside with green grass, short sleeves, and iced drinks. It is unbelievable, but I keep hearing that little voice saying only a few weeks until G's birthday and Thanksgiving, and only a few more weeks until winter solstice and Christmas --- you are soooooo behind on gift making. Why yes, yes I am.
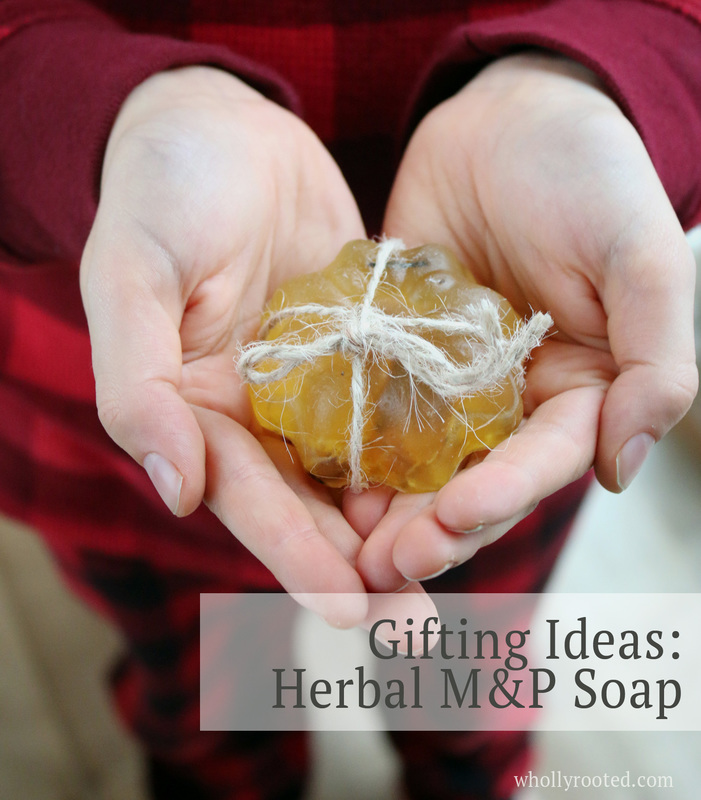
I am sure you are all much better than I, and have been cranking away at handmade gifts and goodies for months. I seem to transition from all of the garden work season to holiday making season and when garden work continues for so long the rest gets pushed off. I have so many great recipes for hand made goodies in my pile of things to blog that I never blogged, so I think I will share them over the next few weeks. Since some are old and some are new and some were for our home projects, I won't out our gifts to any family members (which is always the worry this time of year), and I will also motivate myself to get rolling on the making. After I water all of my pots with iced tea in hand, of course. The in-between of handmade things - from small kids (find something safe! and easy! and cute!) to teens (I know what I want to make and don't need your input, thanks!) - is the tween and early teen crafting making phase. The phase where the project needs to be interesting and cool enough for them to want to join you and actually do it all themselves thankyouverymuch, but short enough to not seem like some mad mom thing. They want to make gifts for people and they want to feel involved, but they want to be interested. This melt and pour herbal soap falls into that category. My tween (soon to be 12) son loves working with me on all of my aromatherapy projects and assignments. He wants to know about the chemistry and whip things up and use all of my special measuring devices that I reserve only for that stuff (so!many!cool!measuring!devices!and!stir!rods!). My 13 year old son is in the wellllllll maybeeeeeeeee but I'm pretty busssssssyyyyyy phase, but even he enjoys something that resembles a DIY:Sci science project. No, it isn't dangerous and doesn't blow up, but the big grated ball of m&p is microwaved until it is a liquid and you get to pour it into molds, so that is fun. And they have something to give that they made. Melt and pour has a bad rap for being meh, but there are some very good quality organic versions out there (and palm free options!) and it is great for the tweens as it doesn't involve the lye and caustic chemicals of processed soaps, but it is something that they can make and customize. Or, you can make it yourself. No tweens needed. I like the addition of dried herbs from our garden in m&p soaps. They add some skin nourishing properties, they give it more of an earthy homemade feel, and they look nice. herbs: This recipe combines lavender and calendula, both of which are soothing, relaxing, and healing. Combine ingredients to suit what you have in your herbal cabinet – try adding items such as dried rose petals, dried chamomile, or dried mint leaves. Tweak your fragrance to match your additions. molds: You can use soap molds of course, but don’t be afraid to get creative. Using muffin tins or silicone candy molds work great and give a great variety of patterns. I used a metal mini cake mold for this batch. 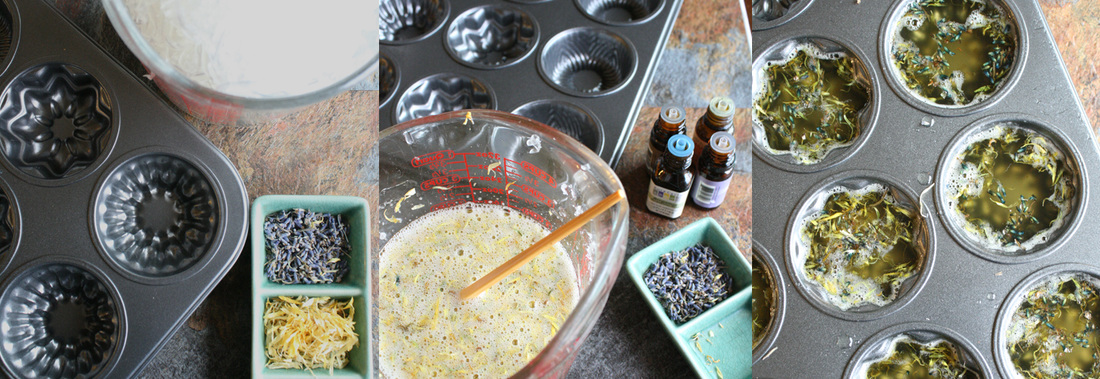
Ingredients: 16 ounces/475 mL of organic m&p soap*, grated (try a natural glycerin, aloe, or hemp type - choose your favorite) 3 Tbsp honey (optional) 4 Tbsp dried calendula petals 2 Tbsp dried lavender buds 1 Tbsp apricot kernel oil or avocado oil 1/8 tsp vitamin E (from bottle or pierce a vitamin E capsule) You can make the soap using only the base, oils, honey, and herbs. But to add some additional fragrance, you can add a blend of essential oils. This mild earthy citrus blend goes well with the calendula and lavender and has a nice uplifting aroma. 8 drops bergamot essential oil 30 drops mandarin 45 drops lavender 13 drops cedarwood or if you like a more floral blend, try 45 drops lavender 25 drops sweet orange 8 drops sandalwood 7 drops neroli 3 drops ylang ylang Don't panic. If you are thinking you want to make this but using only two essential oils - you can't go wrong with lavender + sweet orange. Directions: Oil your molds if using metal tins, or follow instructions if using soap mold or silicone. Melt your m&p soap base. There are two ways you can melt your grated soap base. You can melt gently in a double boiler on your stove, or you can microwave in a microwave safe bowl, stirring !very! !gently! (to help prevent foamy bubbles) every 30 seconds or so until melted. When melted, quickly and gently stir in your honey, vitamin E, and base skin oils. Pre-heat your honey a bit so it will stir in - if you pour it in fairly cold it will clump and sink. Add your essential oils, and finally add in the calendula petals, stirring carefully and gently to not add bubbles. Pour this mix into the molds gently to avoid too much bubbling. After cooling for only a minute, sprinkle the lavender buds over the top. They will sink in, but not all the way to the bottom this way. If you wait too long they will just sit on top, not sink and harden into the soap. You can gently remove any bubbles at the edges using a skewer or chopstick, so that the bar will dry smooth. Let the soap harden and cool fully before removing from the molds. If you are using metal tins, let the soap cure/dry in the tray so that they shrink enough to pop right out the next day. If you are using soap or silicone molds, remove from the mold to cure/dry on a tray for a day or two before wrapping. Package the soaps in a little box or wrap with ribbon or string. Gift away (and keep a few for yourself!). 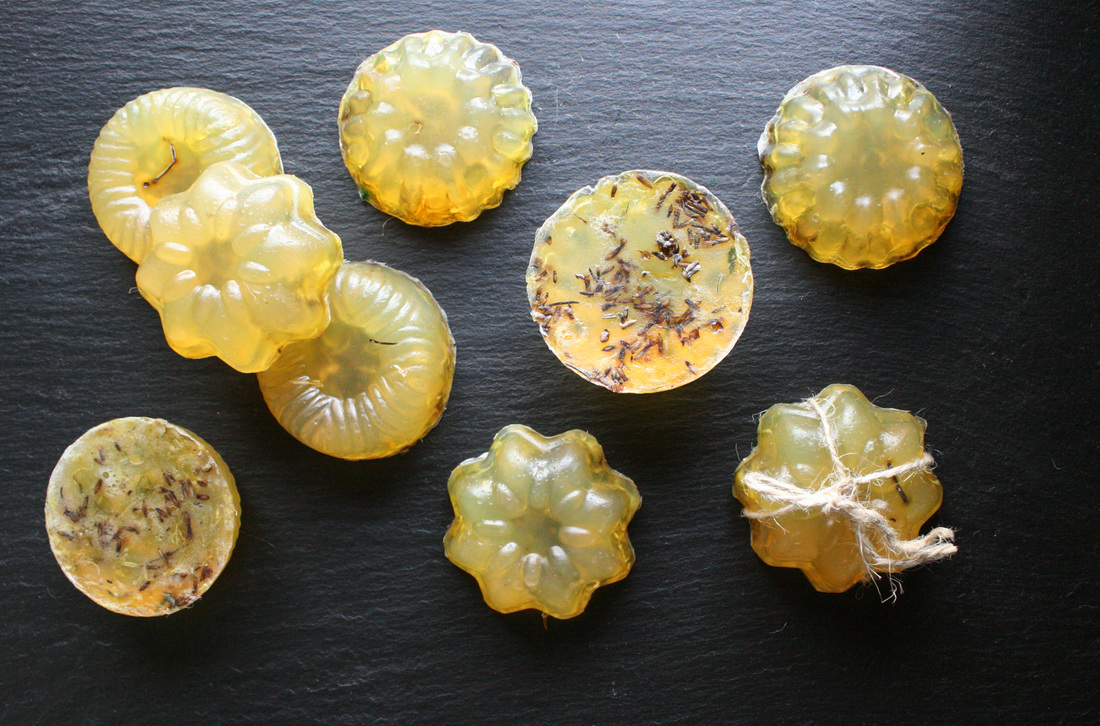
*Not all melt and pour soap is alike. Look for organic vegetable glycerin melt and pour. It doesn’t have any harsh petrochemicals and is a gentle and environmentally-friendly base. There are palm oil free versions, and even aloe, honey, or hemp! You can choose an organic goat milk type of m&p as well (although herbs won’t show as much). We stick with non-animal based soaps since my son has severe dairy allergies and cannot even bathe with them.
Resources: Dried herbs: Mountain Rose Herbs Bulk Herb Store Soap Bases: US Bulk Apothecary Brambleberry UK http://www.justasoap.co.uk/soap-making/melt-pour-soap-bases/ 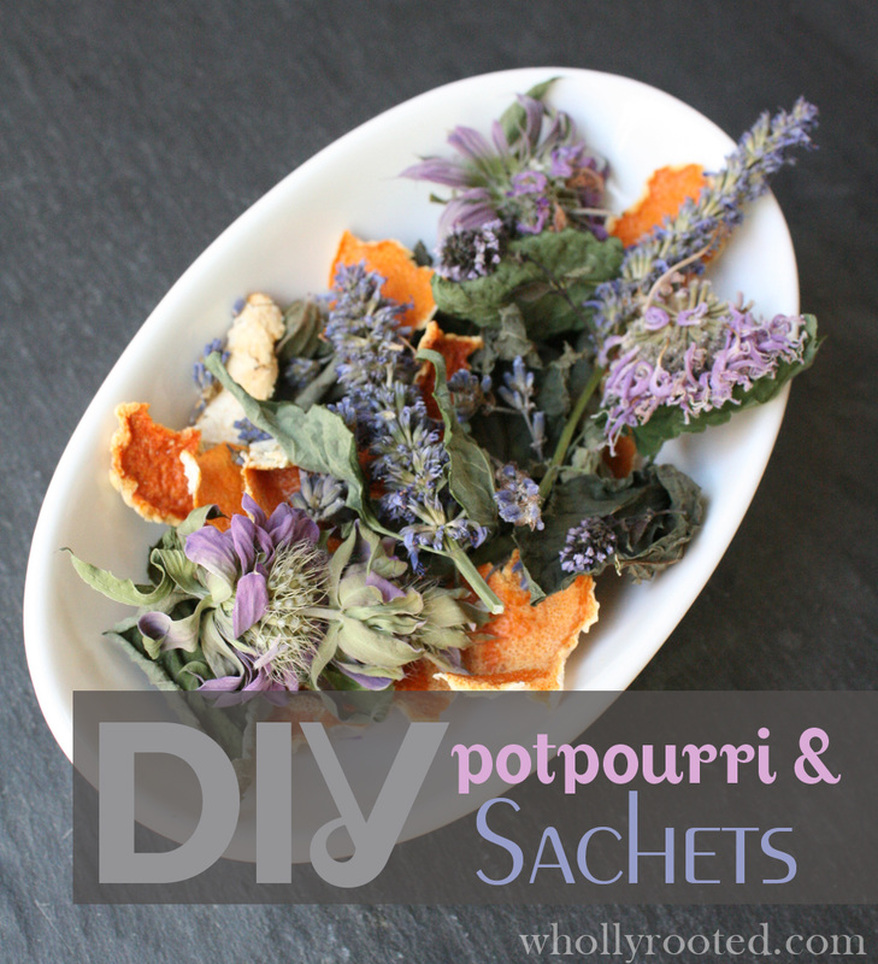 Potpourri Stop right there, don't think homemade potpourri is anything like the chemical laden store bought over fragranced stuff. Making your own is not kitschy; it is a good way to have on-going odor absorption and a light fragrance in areas such as bathrooms and kitchens. Making it is simple. Choose your container, add your base items, and then enhance with a few drops of essential oils. You can stick with base dried herbs, flowers, and spices, but things like pinecones and pine branches also hold oils nicely and add bulk. Be sure not to buy the pre-scented chemically treated pinecones from the craft store. You can find untreated pinecones from online suppliers, or if you collect your own, be sure to clean thoroughly and place in your oven on the lowest setting for an hour or so to dry and de-pest before using. I dry herbs from my gardens all summer long, so I always have plenty of dried fragrant herbs and flowers to use in sachets, teas, and potpourri. I grow things like bee balm, anise hyssop, lemon verbena, lemon balm, different kinds of mint, rosemary, lavender, and more. I dry them in my dehydrator all summer long and store in airtight containers in my herb cabinet. I also like to dry citrus peels and rounds for use in tea, and those items also work well in sachets. 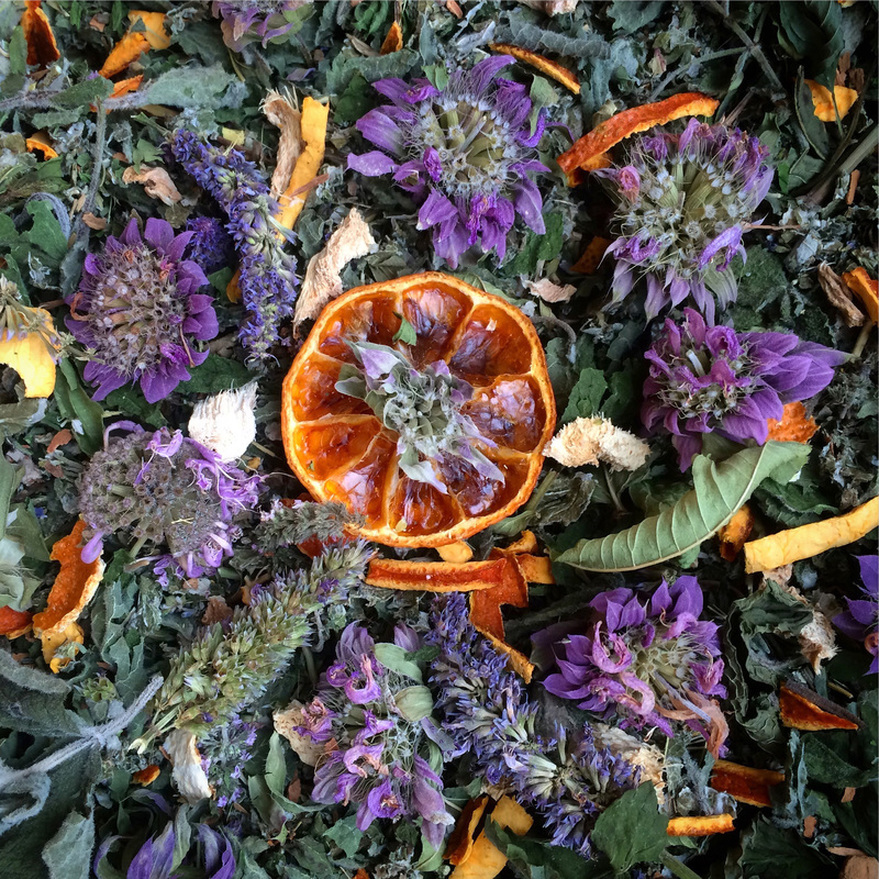 To make potpourri, fill a container with your dried herbs and flowers of choice. Good herbs to dry for this include lemon verbena, mint, lemon balm, anise hyssop, lavender, rose petals, bergamot heads, rosemary, and any type of dried citrus. This blend looks lovely when you combine the peels and flowers and leaves. For some additional fragrance, add a few drops of essential oils to the mix. Lemon, lemongrass, lavender, sweet orange, and spearmint all are wonderful. Experiment to find your own favorite blend. I tend to make different blends for the guys in the family which have more of the pine, fir, rosemary, juniper, and citrus, while I enjoy lavender, citrus, patchouli, cedarwood, etc. myself. 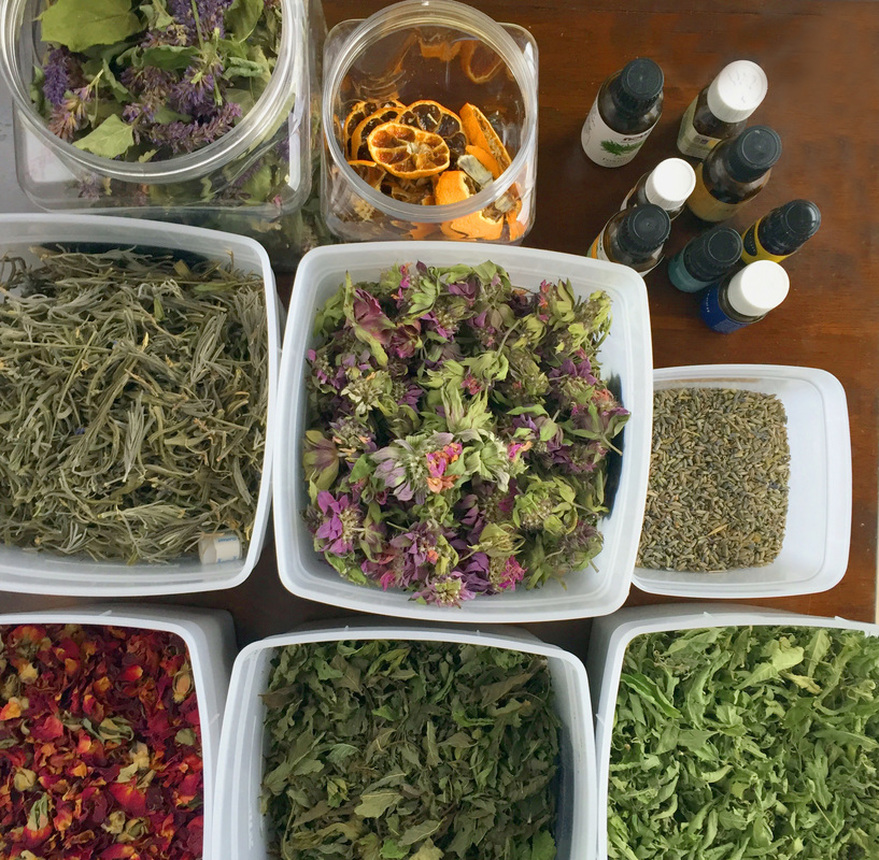 Another use for your essential oil enhanced dried herbs is sachets. Gently crush your herbs of choice in a clean bowl, mix in your essential oils (a binder can help retain fragrance longer, so if you have it, try adding a small spoonful of ground orris root into the mix, although I have even used frankincense powder), and spoon into pre-sewn rectangles of fabric (leave one end open to fit the herbs). Stitch closed and use in your drawers, shoes, or closet. Refresh with a few drops of essential oils as needed. 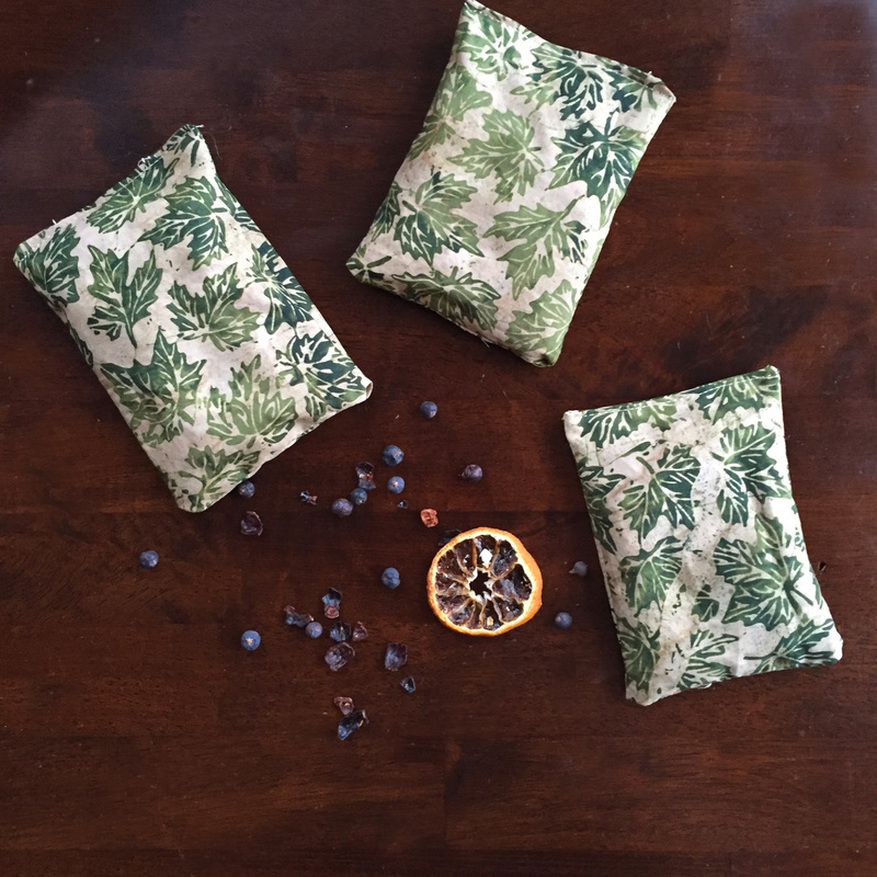 I made sachets with herbs from my garden for holiday gifts, but made sure to make a few for our own house. They are tucked into the master closet, the mud room by all the shoes and boots, and in the front coat closet. They help keep things smelling fresh. I may insert them into my pre-teen sons boots once or twice too. Ahem.
|
denise cusackI am a certified aromatherapist, clinical herbalist, permaculture designer, organic gardener, plant conservationist, photographer, writer, designer, artist, nature lover, health justice activist, whole foods maker, and mother of two young adults in south central Wisconsin. 

Categories
All
©2007-23 Denise Cusack, all photos and text. Feel free to share my posts on FB or Twitter or online media or pin on Pinterest (thank you!), but please keep the links back to my website intact (meaning please do not take or copy my images off of this website and share them unattributed or without linking back here or use them without permission). Thank you! :)
|
 RSS Feed
